A Personal Story: Emma’s Journey with Homemade Ice Cream Cups
Growing up, I always had a soft spot for ice cream. But my love for it truly blossomed when I started experimenting in the kitchen. One summer, I found myself in my grandmother’s kitchen, mixing cream, sugar, and vanilla, hoping to create something magical. I remember the first time I made homemade ice cream cups—the excitement, the mess, and, of course, the first spoonful of that rich, creamy delight. It was nothing like store-bought ice cream; it was fresher, richer, and full of love.
That moment turned into a lifelong passion for crafting delicious frozen treats at home. Over the years, I’ve tested countless flavors, tried dairy-free versions, and even experimented with edible ice cream cups. Now, I’m sharing my favorite recipe with you—one that’s simple, adaptable, and guaranteed to bring joy to your kitchen.
In this guide, I’ll walk you through everything you need to know about making homemade ice cream cups—from the ingredients and techniques to fun serving ideas. Whether you’re a beginner or an experienced home chef, this article will help you create the perfect frozen treat.
Let’s dive into the world of ice cream cups! 🍦
Introduction to Ice Cream Cups
What Are Ice Cream Cups?
If you’ve ever grabbed a mini tub of ice cream at a party or savored a perfectly portioned frozen treat, you’ve had an ice cream cup. These small, single-serve delights are not only convenient but also incredibly fun to make at home. Unlike traditional ice cream served in bowls or cones, homemade ice cream cups allow for endless creativity in flavors, textures, and presentation.
Why Make Homemade Ice Cream Cups?
Sure, you can buy them at the store, but nothing beats the taste of homemade ice cream. Making your own ice cream cups gives you full control over ingredients, sweetness, and texture. Plus, it’s a great way to avoid artificial preservatives and unnecessary additives found in store-bought versions.
Here’s why you’ll love making them:
✔ Customization: Choose your favorite flavors, mix-ins, and toppings.
✔ Healthier options: Use natural sweeteners, dairy-free alternatives, or high-protein ingredients.
✔ Fun and family-friendly: A perfect activity to enjoy with kids or friends.
Benefits of Homemade Ice Cream Over Store-Bought
Homemade ice cream cups have a fresh, rich taste that packaged ice creams can’t match. Plus, you can:
- Control the ingredients (organic, dairy-free, low-sugar, etc.).
- Experiment with unique flavors (like mango-cardamom or matcha-honey!).
- Adjust the creaminess and sweetness to your preference.
And the best part? They’re super easy to make—no fancy equipment required!
In the next section, we’ll cover everything you need to create the best homemade ice cream cups, from the freshest ingredients to must-have tools. Stay tuned!
Essential Ingredients for Homemade Ice Cream Cups
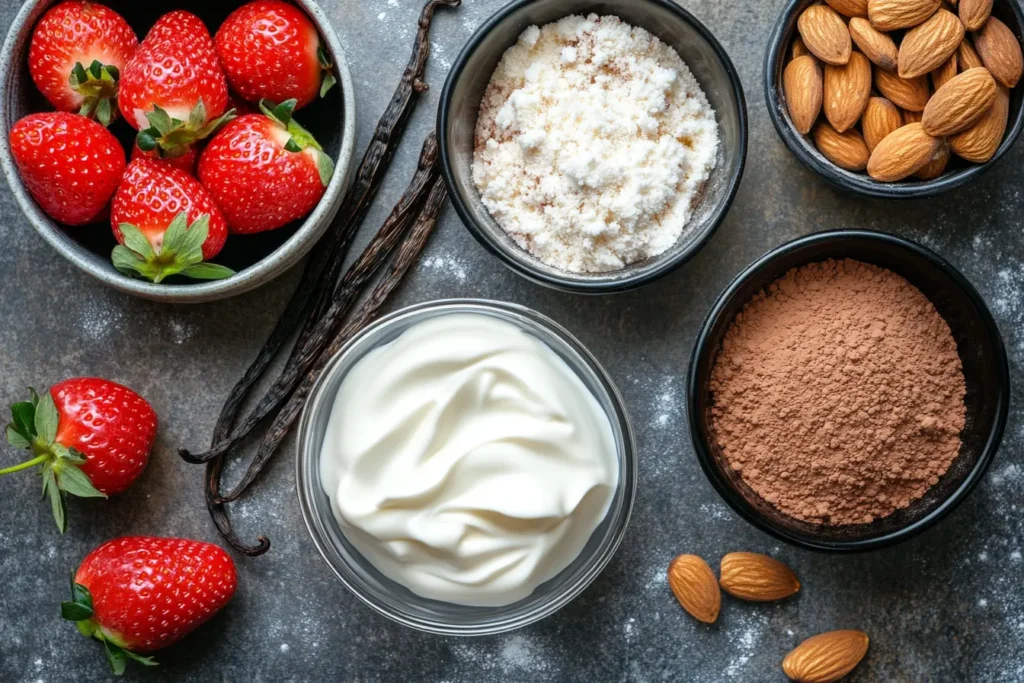
Making the perfect homemade ice cream cups starts with selecting high-quality ingredients. Whether you prefer classic dairy-based ice cream or a dairy-free alternative, choosing the right components ensures a creamy, flavorful result.
Choosing the Best Dairy or Dairy-Free Alternatives
For traditional ice cream cups, a combination of heavy cream and whole milk creates a rich, velvety texture. If you’re looking for a dairy-free option, try using:
- Coconut milk – Adds a tropical, creamy flavor.
- Almond milk – Light and slightly nutty.
- Cashew milk – Buttery and smooth, great for achieving creaminess.
- Oat milk – Thick, naturally sweet, and excellent for vegan recipes.
Natural Sweeteners for Healthier Ice Cream
Refined sugar is common in ice cream, but there are better options to keep it healthier:
- Honey – Adds natural sweetness and enhances flavor.
- Maple syrup – Perfect for a hint of caramel-like richness.
- Agave nectar – A great low-glycemic option.
- Dates or banana puree – Naturally sweet and nutritious.
Flavor Enhancers: Vanilla, Cocoa, Fruits, and More
A basic ice cream cup recipe needs a flavor boost. The most popular choices include:
- Vanilla bean or extract – A must for a classic, aromatic taste.
- Unsweetened cocoa powder – Ideal for deep chocolate flavors.
- Fresh or frozen fruit – Strawberries, blueberries, and mangoes add freshness.
- Spices – Cinnamon, nutmeg, or cardamom for warmth.
Creative Mix-ins for Texture and Fun
Mix-ins can take ice cream cups to the next level. Try adding:
- Chopped nuts (almonds, pecans, pistachios) for crunch.
- Chocolate chips or shavings for indulgence.
- Cookie crumbles for a delightful bite.
- Caramel or fudge swirls for extra richness.
With these ingredients in hand, let’s move on to making the perfect batch of homemade ice cream cups!
Step-by-Step Homemade Ice Cream Recipe
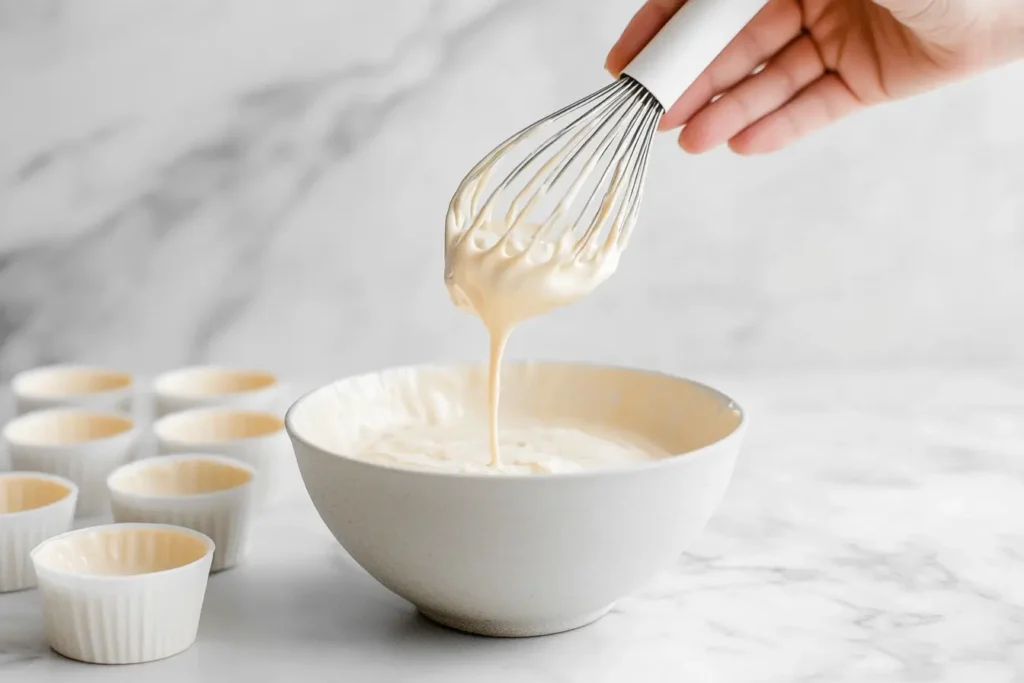
Now that you have the best ingredients, it’s time to put them together! This homemade ice cream cups recipe is simple and can be customized to suit any flavor preference.
Equipment You’ll Need
Before starting, gather these essentials:
✔ A mixing bowl – To combine ingredients smoothly.
✔ A whisk or blender – For an even texture.
✔ Ice cream machine (optional) – Helps achieve a creamy consistency.
✔ Muffin tin or small cups – Perfect for portioning.
✔ Plastic wrap or airtight container – Prevents freezer burn.
Preparing the Ice Cream Base (Custard vs. No-Churn)
Custard-Based Ice Cream (Traditional)
- Heat milk and cream in a saucepan until warm.
- In a separate bowl, whisk egg yolks and sugar until pale.
- Slowly pour the warm milk into the egg mixture, whisking constantly.
- Return to the stove and cook until thickened.
- Add vanilla extract or any flavor of choice.
- Chill the mixture before churning.
No-Churn Ice Cream (Easy & Quick)
- Whip heavy cream until soft peaks form.
- Fold in sweetened condensed milk and vanilla.
- Add mix-ins (chocolate chips, fruit, etc.).
- Pour into small cups and freeze.
Churning and Freezing Tips for Perfect Texture
- If using an ice cream maker, churn the base for about 20 minutes.
- For no-churn ice cream, stir every 30 minutes during freezing to prevent iciness.
- Cover tightly to avoid ice crystals forming.
How to Make Ice Cream Cups Without an Ice Cream Maker
No machine? No problem! Use the freeze-and-stir method:
- Blend the ice cream mixture well.
- Pour into cups and freeze for 30 minutes.
- Stir to break up ice crystals and repeat every 30 minutes for 3 hours.
This ensures smooth and creamy ice cream cups, even without special equipment!
For those who love birthday-themed desserts, check out this Birthday Cake Ice Cream Recipe for a fun twist on homemade ice cream cups!
Best Ways to Serve and Store Ice Cream Cups
Now that your homemade ice cream cups are frozen and ready, it’s time to serve them in style! Whether you’re hosting a party or enjoying a solo treat, presentation matters. Plus, knowing the best storage techniques will keep your ice cream fresh and creamy for longer.
Choosing the Right Cup or Container
The right container makes all the difference in both presentation and preservation. Here are a few options:
- Silicone muffin cups – Easy to remove and reusable.
- Paper or plastic ice cream cups – Great for serving at events.
- Small glass jars – Adds a charming touch to homemade treats.
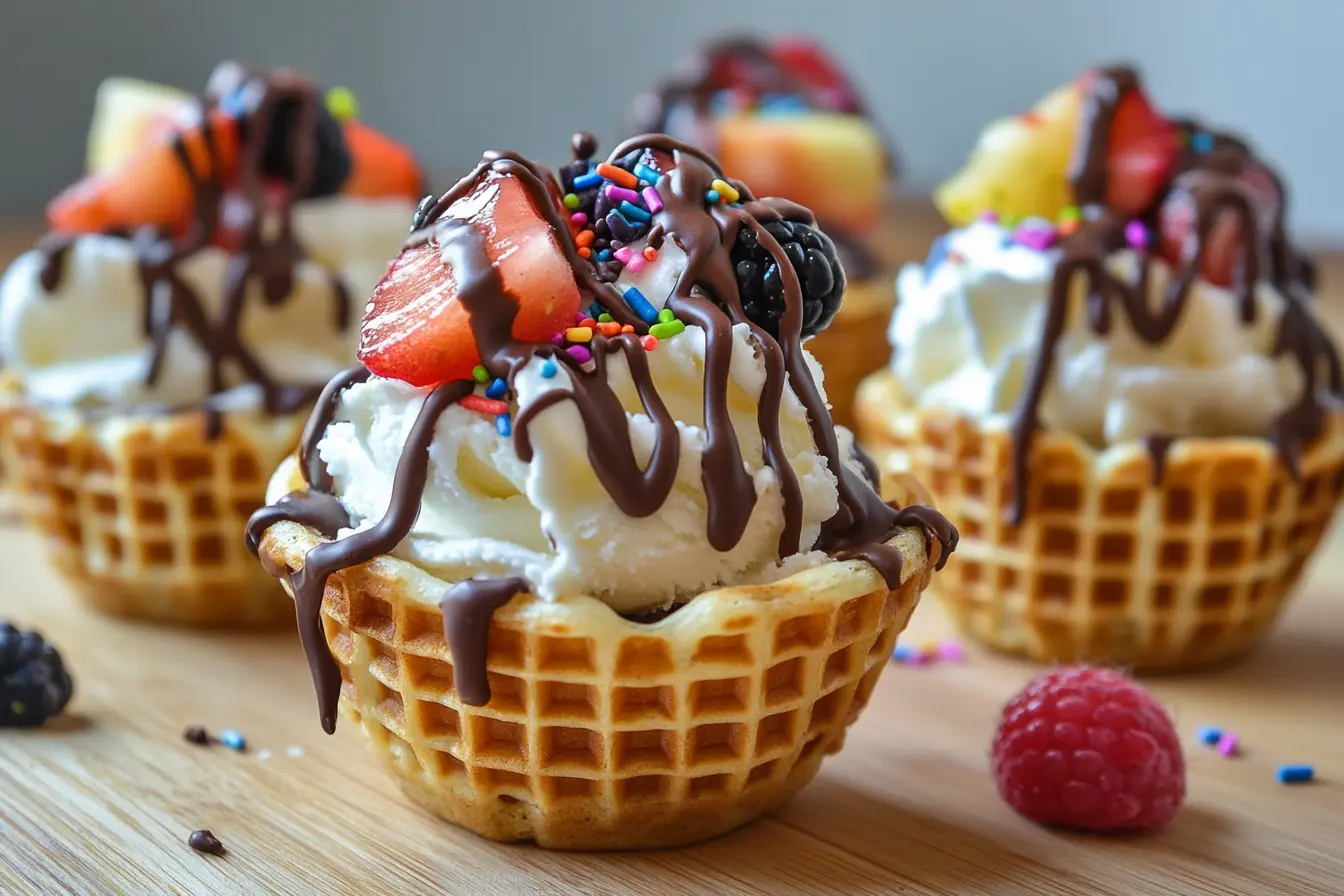
- Edible cups – Made from waffle cones, cookies, or chocolate.
For extra flair, top your ice cream cups with fresh fruit, chocolate drizzle, or crushed nuts.
DIY Edible Ice Cream Cups (Waffle, Cookie, Chocolate)
Want to make your own edible cups? Try these fun options:
- Waffle bowls – Shape warm waffles into cups and let them cool.
- Chocolate shells – Coat silicone molds with melted chocolate and freeze.
- Cookie cups – Press cookie dough into a muffin tin and bake.
Edible cups not only reduce waste but also add extra flavor to every bite!
Proper Storage Techniques for Long-Lasting Freshness
To keep your homemade ice cream cups creamy and delicious:
✔ Cover them tightly with plastic wrap or a lid to prevent ice crystals.
✔ Store at the back of the freezer, where the temperature is most stable.
✔ Let them sit for 5 minutes at room temperature before serving for a softer texture.
By following these storage tips, you can enjoy your ice cream cups for up to two weeks without losing quality!
Fun Homemade Ice Cream Cup Recipes
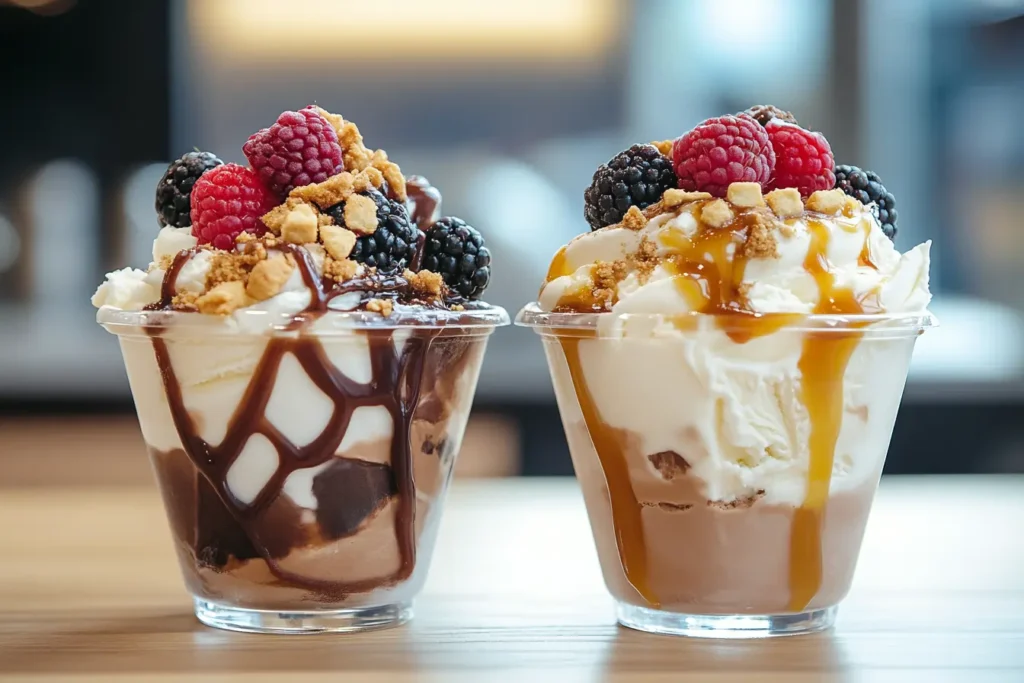
Now that you’ve mastered the basics, it’s time to get creative! These homemade ice cream cup recipes are fun, delicious, and easy to customize.
Classic Vanilla and Chocolate Cups
You can never go wrong with the classics!
Vanilla Ice Cream Cups:
- Follow the basic ice cream recipe from Part 3.
- Add one teaspoon of vanilla bean paste for a richer flavor.
- Freeze in small cups and top with caramel or fresh berries.
Chocolate Ice Cream Cups:
- Add ¼ cup of cocoa powder to your ice cream base.
- Stir in chocolate chips or a swirl of fudge.
- Freeze and serve with a sprinkle of sea salt for a gourmet touch.
Fruity Delights: Strawberry, Mango, and Blueberry
For a refreshing twist, try these fruity flavors!
Strawberry Ice Cream Cups:
✔ Blend one cup of fresh strawberries into the base.
✔ Add a squeeze of lemon juice to brighten the flavor.
Mango Ice Cream Cups:
✔ Puree one ripe mango and mix it in.
✔ Sprinkle toasted coconut on top for a tropical feel.
Blueberry Swirl Ice Cream Cups:
✔ Mash ½ cup of blueberries with a bit of honey.
✔ Swirl into vanilla ice cream before freezing.
Indulgent Treats: Caramel Swirl, Cookie Dough, and Nutty Delights
If you love decadent desserts, these will be your favorites.
Caramel Swirl Ice Cream Cups:
✔ Add a swirl of homemade caramel sauce before freezing.
✔ Sprinkle with chopped pecans for extra crunch.
Cookie Dough Ice Cream Cups:
✔ Mix in bite-sized cookie dough pieces.
✔ Drizzle with melted chocolate before serving.
Nutty Chocolate Delight:
✔ Stir in chopped almonds and hazelnuts.
✔ Finish with a drizzle of dark chocolate.
Dairy-Free and Vegan Ice Cream Cups
Looking for a plant-based version? Here’s how to make it creamy and delicious!
Vegan Vanilla Ice Cream Cups:
✔ Use full-fat coconut milk instead of cream.
✔ Sweeten with maple syrup or agave nectar.
Chocolate Banana Ice Cream Cups:
✔ Blend frozen bananas and cocoa powder for a naturally sweet treat.
✔ Add a spoonful of peanut butter for extra flavor.
FAQs
Curious about making homemade ice cream cups? Here are answers to the most common questions!
How do you make homemade ice cream cups without an ice cream maker?
No ice cream maker? No problem! Use the freeze-and-stir method:
- Blend your ice cream base until smooth.
- Pour it into small cups and place them in the freezer.
- Stir every 30 minutes for 3 hours to prevent iciness.
What are the best dairy-free alternatives for homemade ice cream?
For creamy, plant-based ice cream cups, try:
✔ Coconut milk – Rich and smooth.
✔ Cashew milk – Buttery texture.
✔ Oat milk – Thick and naturally sweet.
Can I make ice cream cups using frozen fruit?
Absolutely! Frozen fruit adds natural sweetness and flavor. Blend frozen bananas, berries, or mango with a splash of milk or yogurt for a quick, healthy treat.
How long do homemade ice cream cups last in the freezer?
Properly stored, they last up to two weeks before losing texture. Keep them covered and stored at the back of the freezer for the best results.
Conclusion
Making homemade ice cream cups is a fun and rewarding experience. With the right ingredients, techniques, and a little creativity, you can enjoy delicious frozen treats anytime. Whether you prefer classic flavors, fruity options, or indulgent swirls, there’s an ice cream cup for everyone!
Now that you’ve mastered the art of making ice cream cups, why not try experimenting with new flavors? Enjoy your homemade creations, and don’t forget to share them with friends and family!

1 thought on “The Ultimate Guide to Homemade Ice Cream Cups”