Introduction
Looking for a healthy, delicious, and easy-to-make snack that’s packed with protein? If you’re tired of store-bought options with hidden additives, preservatives, and questionable ingredients, it’s time to make your own gluten-free protein bars at home!
Homemade protein bars give you full control over ingredients, allowing you to choose the best protein sources, natural sweeteners, and flavors while keeping them 100% gluten-free. Whether you need a quick energy boost, a pre-workout snack, or a meal prep option, these bars are a perfect choice for a nutritious lifestyle.
In this guide, you’ll learn:
✔ What makes gluten-free protein bars different from regular protein bars
✔ Essential ingredients and how to customize your recipe
✔ A step-by-step guide to making them at home
✔ Storage tips to keep them fresh for longer
✔ Common mistakes to avoid for the best results
Introduction to Gluten-Free Protein Bars
What Are Gluten-Free Protein Bars?
Gluten-free protein bars are high-protein snack bars made without wheat, rye, barley, or any gluten-containing ingredients. They are a fantastic option for people with celiac disease, gluten sensitivity, or those simply looking to cut gluten from their diet.
Most commercial protein bars contain gluten in the form of processed grains, additives, or cross-contaminated ingredients. Making your own ensures a clean, wholesome snack with no unwanted surprises.
Why Choose Homemade Over Store-Bought?
Why spend money on overpriced store-bought bars when you can make delicious, healthier, and more affordable ones at home? Here’s why homemade wins every time:
✔ No hidden ingredients – You control the quality of protein and sweeteners used.
✔ Customizable flavors – Love peanut butter? Prefer chocolate? You decide!
✔ No preservatives – Store-bought bars contain artificial stabilizers for shelf life.
✔ Diet-friendly – Easily make them vegan, keto-friendly, or nut-free.
Benefits of Gluten-Free Protein Bars for Your Health
Adding gluten-free protein bars to your diet provides a convenient and nutrient-dense source of energy. Some top benefits include:
- Supports muscle recovery – High in protein, essential for post-workout repair.
- Boosts energy levels – Great for mid-day snacking without sugar crashes.
- Rich in fiber and healthy fats – Keeps you feeling full longer.
- Better digestion – Free from gluten, which can cause bloating and discomfort for many.
By choosing homemade gluten-free protein bars, you’re making a healthier and smarter choice for your body. Ready to make your own? Keep reading!
Key Ingredients for Gluten-Free Protein Bars

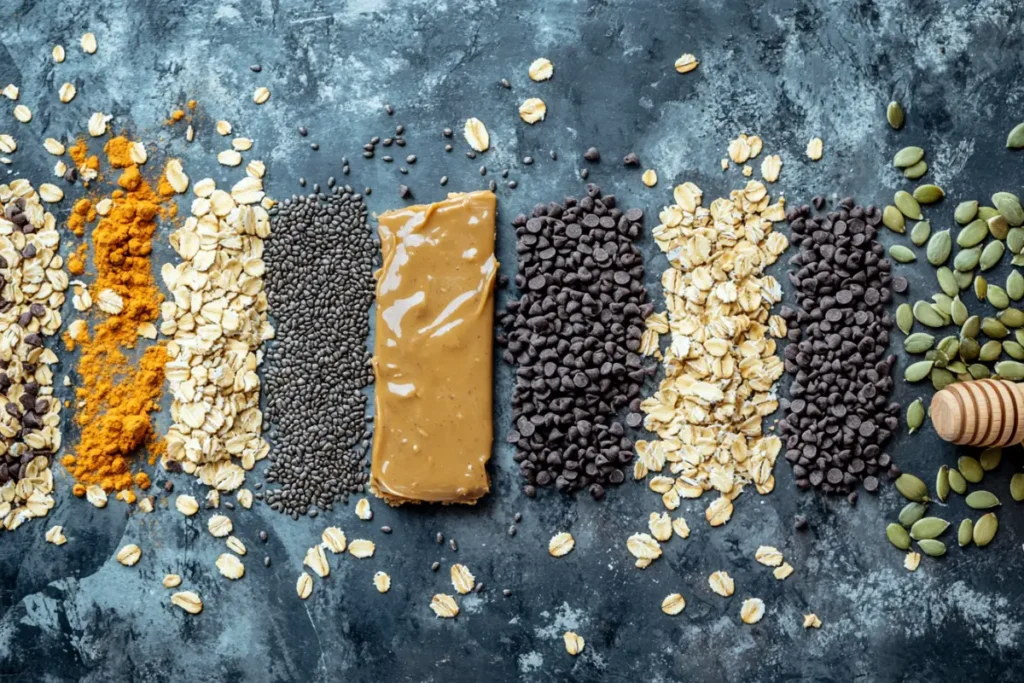
Making gluten-free protein bars at home starts with choosing the right ingredients. The key to a nutritious, flavorful, and satisfying protein bar lies in high-quality protein sources, natural sweeteners, and the right binding agents.
Best Gluten-Free Protein Sources
A solid protein base is essential for fueling your body and keeping you full. Here are some excellent gluten-free protein options:
✔ Whey protein isolate – A high-quality, fast-absorbing protein powder. Ensure it’s labeled gluten-free.
✔ Plant-based proteins – Pea, hemp, and brown rice protein powders work well for vegan and dairy-free options.
✔ Nut butters – Almond, peanut, or cashew butter add creaminess and a protein boost.
✔ Seeds – Chia, flaxseeds, and sunflower seeds provide protein, fiber, and healthy fats.
Natural Sweeteners for a Healthier Snack
Unlike store-bought bars loaded with refined sugar and artificial syrups, homemade gluten-free protein bars can be sweetened with natural alternatives:
✔ Honey or maple syrup – A natural way to add sweetness while helping with texture.
✔ Dates or dried fruits – These are packed with fiber, vitamins, and a touch of natural sugar.
✔ Stevia or monk fruit – Great options for low-carb, sugar-free bars.
Binding Agents: Keeping Your Bars Intact Without Gluten
A strong binding ingredient is necessary to prevent crumbling:
✔ Nut butters – Act as a binder while adding healthy fats and protein.
✔ Coconut oil – A great stabilizer that also gives a smooth texture.
✔ Oats or coconut flour – Absorb moisture and help create a firm structure.
With these ingredients, you’ll have a healthy foundation for making perfect gluten-free protein bars! Now, let’s move on to the step-by-step process of making them at home.
Step-by-Step Guide to Making Gluten-Free Protein Bars at Home

Making gluten-free protein bars at home is easier than you think! With just a few simple steps, you can create delicious, nutritious bars tailored to your taste.
Essential Equipment You’ll Need
Before you begin, gather the following:
✔ Mixing bowls – To combine dry and wet ingredients.
✔ Food processor – Helps blend sticky ingredients like dates or nut butter.
✔ Baking pan or silicone mold – For shaping and setting the bars.
✔ Parchment paper – Prevents sticking for easy removal.
Basic Recipe: Simple and Nutritious Gluten-Free Protein Bars
Here’s a simple no-bake recipe for gluten-free protein bars:
Ingredients:
- 1 cup gluten-free oats
- ½ cup nut butter (almond, peanut, or cashew)
- ⅓ cup honey or maple syrup
- ½ cup protein powder (gluten-free certified)
- 2 tbsp chia or flaxseeds
- 1 tsp vanilla extract
- ¼ cup dark chocolate chips (optional)
Instructions:
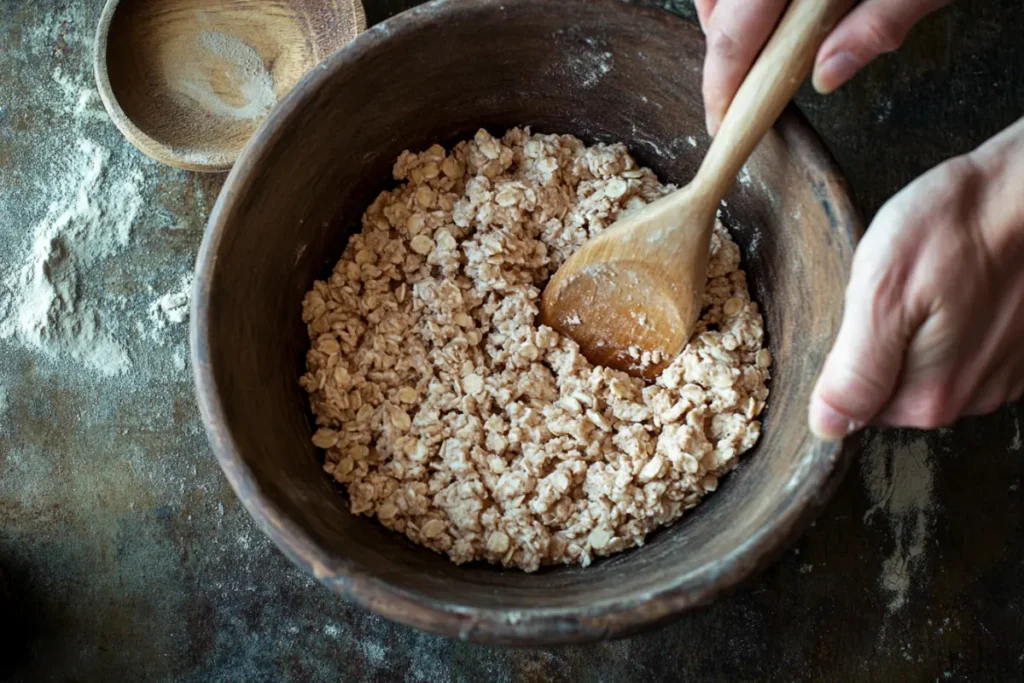
1️⃣ In a bowl, mix oats, protein powder, and seeds.
2️⃣ Heat the nut butter and honey/maple syrup in a small saucepan until smooth.
3️⃣ Pour the wet mixture into the dry ingredients and stir well.
4️⃣ Fold in chocolate chips (if using).
5️⃣ Press the mixture into a lined baking pan.
6️⃣ Refrigerate for 1-2 hours until firm, then cut into bars.
Customization: Adding Flavors and Extra Nutrition
You can easily customize your bars with additional ingredients:
✔ For a chocolate twist – Add cocoa powder or drizzle with melted dark chocolate.
✔ For extra crunch – Toss in chopped nuts or cacao nibs.
✔ For a fruity boost – Add freeze-dried berries or shredded coconut.
With this simple, flexible recipe, you can enjoy fresh, homemade gluten-free protein bars anytime! Next, we’ll explore some popular recipe variations to suit different dietary needs.
Top Variations of Gluten-Free Protein Bars
One of the best things about making gluten-free protein bars at home is how easy they are to customize! Whether you need a nut-free, vegan, or high-protein version, there’s a recipe for everyone. Below are some delicious variations to fit different dietary needs and preferences.
Nut-Free Gluten-Free Protein Bars
For those with nut allergies, these bars are completely nut-free but still high in protein.
Ingredients:
✔ 1 cup gluten-free oats
✔ ½ cup sunflower seed butter or tahini
✔ ⅓ cup honey or maple syrup
✔ ½ cup protein powder (gluten-free certified)
✔ 2 tbsp pumpkin seeds
✔ 1 tsp vanilla extract
Instructions:
1️⃣ Mix dry ingredients: oats, protein powder, and pumpkin seeds.
2️⃣ In a saucepan, heat sunflower seed butter and honey until smooth.
3️⃣ Pour into dry ingredients and stir well.
4️⃣ Press into a baking pan and refrigerate for 1-2 hours before cutting.
Vegan and Dairy-Free Options
For a plant-based version, use vegan protein sources and dairy-free ingredients.
✔ Swap whey protein for pea or hemp protein.
✔ Use almond or cashew butter instead of dairy-based ingredients.
✔ Sweeten with dates or agave syrup instead of honey.
High-Protein and Low-Carb Modifications
If you’re following a low-carb or keto diet, try these modifications:
✔ Replace oats with coconut flour or almond flour.
✔ Use zero-carb sweeteners like monk fruit or stevia.
✔ Add collagen or egg white protein for an extra protein boost.
By making small adjustments, you can create gluten-free protein bars that fit any dietary plan!
Storage, Shelf Life, and Meal Prepping Tips

Proper storage is key to keeping your homemade gluten-free protein bars fresh and delicious. Below are some simple storage methods and meal prep strategies.
How to Store Homemade Gluten-Free Protein Bars?
To keep your bars fresh and chewy, store them properly:
✔ Refrigerator: Store in an airtight container for up to 1 week.
✔ Room Temperature: If made without perishable ingredients, store in a sealed container for 3-4 days.
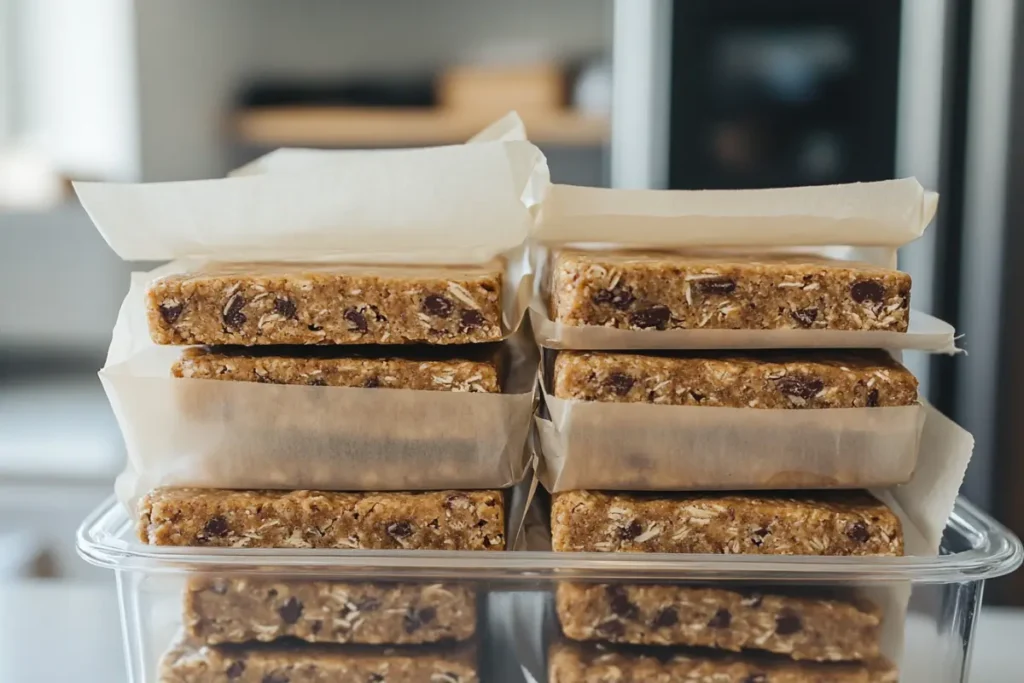
✔ Freezer: Wrap each bar individually and freeze for up to 3 months.
Can You Freeze Gluten-Free Protein Bars?
Yes! Gluten-free protein bars freeze extremely well, making them perfect for meal prep. Here’s how to do it:
1️⃣ Wrap each bar in parchment paper or plastic wrap.
2️⃣ Place them in a ziplock bag or airtight container.
3️⃣ When ready to eat, let them thaw at room temperature for a few minutes.
Meal Prepping: Making a Week’s Worth in One Batch
✔ Double the recipe to make a large batch.
✔ Cut and wrap bars individually for easy grab-and-go snacks.
✔ Label with dates to keep track of freshness.
By following these storage and meal prep tips, you’ll always have a healthy, protein-packed snack ready to go!
Common Mistakes to Avoid When Making Gluten-Free Protein Bars
Making gluten-free protein bars at home is simple, but a few common mistakes can affect the taste, texture, and overall quality. Here’s what to watch out for!
Choosing the Wrong Ingredients
✔ Not all protein powders are gluten-free. Always check labels to avoid cross-contamination.
✔ Using the wrong sweeteners can make bars too dry or too sticky. Stick to natural sweeteners like honey, maple syrup, or dates.
✔ Avoid too many dry ingredients without enough binders. This makes bars crumbly and difficult to shape.
Not Getting the Right Texture
✔ If your bars fall apart, you may need more nut butter or a stronger binder. Try adding a tablespoon of coconut oil or extra honey.
✔ If they’re too dry, increase wet ingredients or mix in a bit of applesauce.
✔ Over-blending can make the mixture too dense. Mix just until combined.
Overlooking Proper Storage Methods
✔ Storing bars at room temperature for too long can make them go stale. Keep them refrigerated for longer freshness.
✔ Freezing is great, but improper wrapping can lead to freezer burn. Use parchment paper and airtight containers.
By avoiding these mistakes, you’ll ensure your homemade gluten-free protein bars are perfect every time!
FAQs About Gluten-Free Protein Bars
Many people have questions about making and enjoying gluten-free protein bars. Below are answers to some of the most common ones!
Are gluten-free protein bars good for weight loss?
Yes! Gluten-free protein bars can be a great addition to a weight loss plan, especially when made with whole, unprocessed ingredients. They provide protein and fiber, helping you stay full longer and reduce cravings. Just be mindful of added sugars and portion sizes to keep calories in check.
What are the best gluten-free flours for making protein bars?
When making gluten-free protein bars, the right flour helps with texture and consistency. Some of the best gluten-free flours include:
✔ Oat flour – Naturally gluten-free (if certified) and adds a soft texture.
✔ Coconut flour – Absorbs moisture well and keeps bars firm.
✔ Almond flour – Adds a nutty flavor and healthy fats.
✔ Brown rice flour – A good alternative for a mild taste and smooth texture.
How can I make gluten-free protein bars chewy instead of crumbly?
For chewy, soft bars, follow these tips:
✔ Increase nut butter or honey to help bind ingredients together.
✔ Add a small amount of coconut oil for extra moisture.
✔ Avoid over-measuring dry ingredients, which can make bars too dense.
✔ Let bars set in the fridge before cutting to hold their shape better.
Can I replace protein powder with whole food ingredients in gluten-free protein bars?
Absolutely! If you prefer whole food protein sources, try these swaps:
✔ Use chia seeds, hemp seeds, or flaxseeds for extra protein and fiber.
✔ Add ground almonds or sunflower seeds for a natural protein boost.
✔ Blend in Greek yogurt or mashed chickpeas for a creamy texture.
By choosing natural, nutrient-dense ingredients, you can make gluten-free protein bars that are both healthy and delicious!
Conclusion
Making your own gluten-free protein bars at home is easy, affordable, and incredibly rewarding. With the right ingredients, you can create delicious, nutritious bars that fit your dietary needs—whether you prefer nut-free, vegan, or high-protein options.
By avoiding common mistakes and following the right storage methods, you can ensure that your homemade bars stay fresh, chewy, and full of flavor. Plus, with endless customization options, you’ll never get bored of the same recipe!
So, why settle for store-bought bars packed with preservatives when you can make wholesome, energy-boosting snacks at home? Start experimenting with different flavors, enjoy the benefits of homemade nutrition, and fuel your body the right way!

