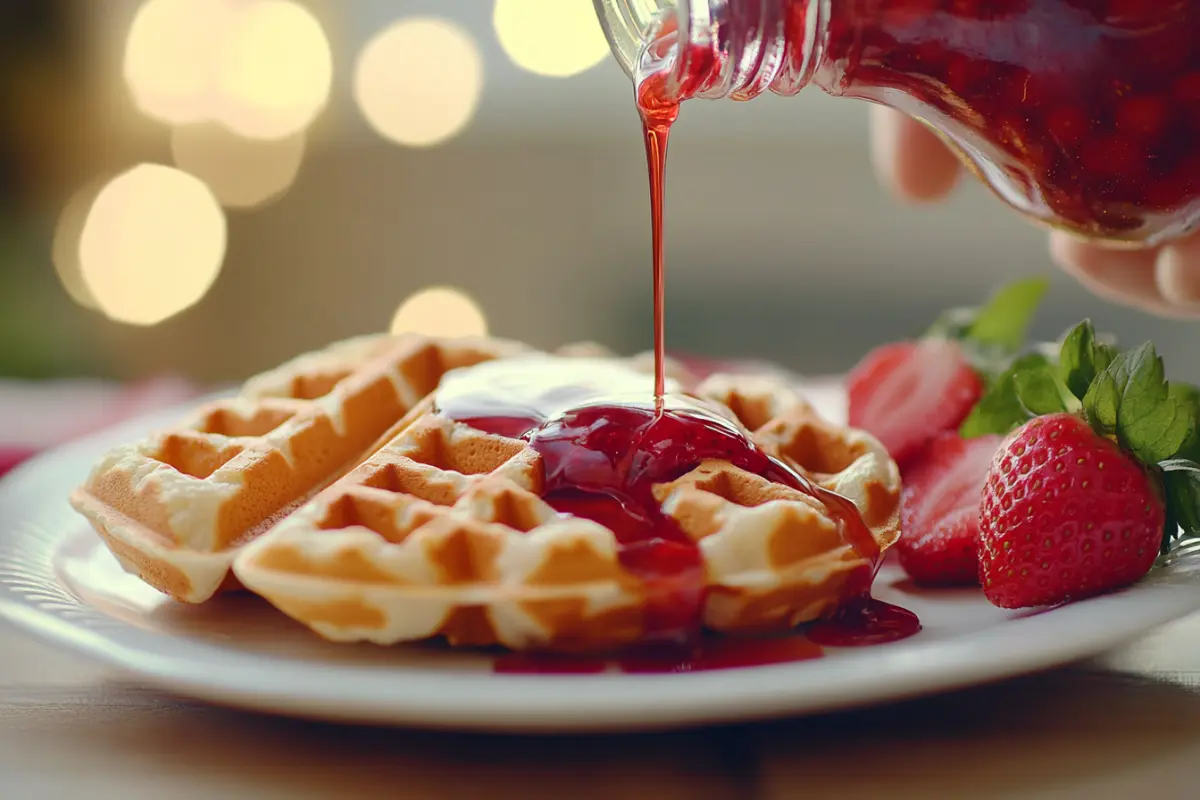
Who doesn’t love a drizzle of fresh, homemade strawberry syrup over warm, fluffy waffles? If you’re tired of store-bought syrups loaded with artificial flavors and preservatives, you’re in the right place! This guide will show you exactly how to make strawberry syrup for waffles in a few simple steps.
We’ll walk through the ingredients, step-by-step cooking instructions, and pro tips to get the perfect consistency. You’ll also discover exciting variations, storage hacks, and the best ways to use your syrup beyond just waffles. Ready to dive in? Let’s get started!
Introduction to Homemade Strawberry Syrup
Why Make Your Own Strawberry Syrup?
Store-bought strawberry syrup may seem convenient, but have you ever checked the ingredients? Many commercial brands contain artificial flavors, high-fructose corn syrup, and preservatives that dull the natural taste of strawberries. Making your own syrup at home ensures you get the freshest, most vibrant flavors without unwanted additives.
Plus, it’s super easy! With just a handful of ingredients, you can whip up a batch in under 20 minutes. Whether you love a thin, pourable syrup or a thick, jam-like consistency, you’ll have full control over the texture and sweetness.
Benefits of Fresh vs. Store-Bought Syrup
Homemade strawberry syrup isn’t just about taste; it’s also about quality and nutrition. Here’s why making it at home is a game-changer:
✔ No artificial preservatives – Just fresh strawberries, sugar, and natural flavor boosters.
✔ Customizable sweetness – Adjust sugar levels or use honey, maple syrup, or sugar alternatives.
✔ Versatile usage – Beyond waffles, drizzle it over pancakes, ice cream, yogurt, or even mix it into drinks.
✔ Budget-friendly – A homemade batch costs far less than premium store-bought options.
Key Ingredients Needed for the Best Strawberry Syrup
The beauty of homemade strawberry syrup is its simplicity. Here’s what you’ll need:
- Fresh or frozen strawberries – Fresh berries give the best flavor, but frozen works just as well.
- Sugar or alternative sweetener – White sugar is common, but honey, agave, or monk fruit sweetener can be used.
- Lemon juice – Adds brightness and balances the sweetness.
- Water – Helps create the syrupy consistency.
- Optional flavor enhancers – Vanilla extract, cinnamon, or even a pinch of salt can add depth.
Now that you know why homemade strawberry syrup is a must-try, let’s dive into the ingredients and tools you’ll need to make it.
Ingredients and Equipment Needed
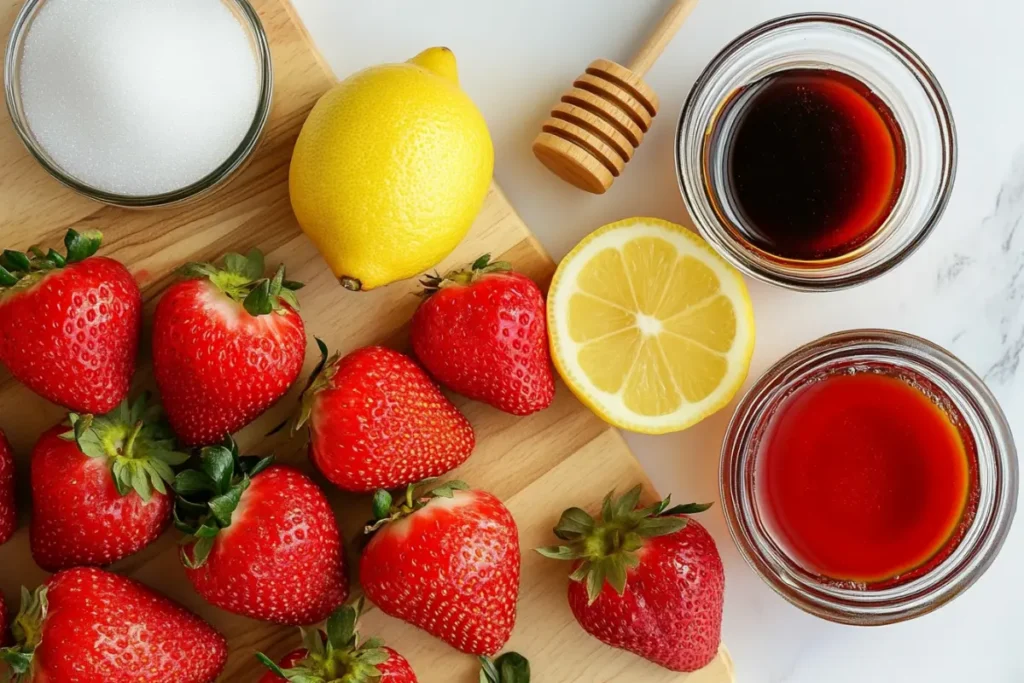
Essential Ingredients for a Classic Strawberry Syrup
To craft a luscious strawberry syrup that perfectly complements your waffles, gather the following:
- Fresh Strawberries: Opt for ripe, juicy berries to ensure a robust flavor. If fresh strawberries are unavailable, frozen ones can serve as a suitable alternative.
- Granulated Sugar: This sweetens the syrup and helps achieve the desired consistency.
- Lemon Juice: A splash of fresh lemon juice brightens the flavor and balances the sweetness.
- Water: Used to adjust the syrup’s thickness and aid in the cooking process.
Optional Ingredients for Unique Flavor Variations
To elevate your strawberry syrup, consider incorporating:
- Vanilla Extract: Adds a warm, aromatic depth to the syrup.
- Maple Syrup: For a richer sweetness and a hint of maple flavor.
- Herbs or Spices: Fresh basil, mint, or a pinch of cinnamon can introduce intriguing flavor notes.
Recommended Kitchen Tools for a Smooth Process
Ensure you have the following equipment on hand:
- Medium Saucepan: For cooking the strawberries and blending the ingredients.
- Wooden Spoon or Silicone Spatula: Ideal for stirring without damaging your cookware.
- Fine Mesh Strainer or Cheesecloth: To strain out seeds and pulp if a smoother syrup is desired.
- Measuring Cups and Spoons: For precise ingredient measurements.
- Sterilized Glass Jar or Bottle: For storing your finished syrup safely.
With these ingredients and tools ready, you’re well-prepared to embark on making your own strawberry syrup. Next, we’ll guide you through the step-by-step process to create this delectable topping.
Step-by-Step Guide on How to Make Strawberry Syrup
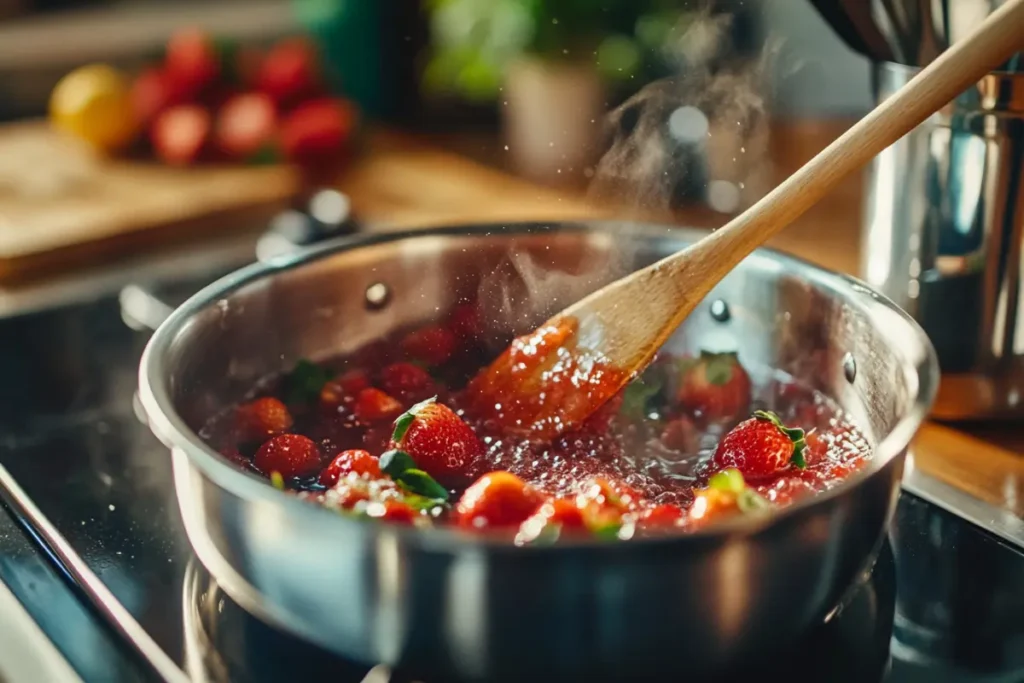
Creating your own strawberry syrup is a straightforward process that yields delicious results. Follow these steps to enhance your waffles with a homemade touch.
Step 1: Preparing the Strawberries for Syrup
Begin by washing the strawberries thoroughly under cool, running water to remove any dirt or residues. Hull the strawberries by removing the green stems, then slice them into quarters. This increases the surface area, allowing for quicker cooking and a more flavorful syrup.
Step 2: Cooking the Syrup – Boiling and Simmering
In a medium saucepan, combine the sliced strawberries, granulated sugar, and water. Stir the mixture gently to ensure the strawberries are well-coated with sugar. Place the saucepan over medium heat and bring the mixture to a gentle boil, stirring occasionally to prevent sticking.
Once boiling, reduce the heat to low and let the mixture simmer. As the strawberries soften, use the back of your spoon or spatula to mash them slightly, releasing their juices. Continue simmering for about 10-15 minutes, or until the mixture thickens to your desired consistency.
Step 3: Straining vs. Leaving Fruit Chunks in the Syrup
Depending on your texture preference, you can choose to strain the syrup or leave the fruit pieces intact:
- For a Smooth Syrup: Place a fine mesh strainer over a bowl and carefully pour the hot mixture through it. Use the back of a spoon to press down on the solids, extracting as much liquid as possible. Discard the remaining pulp or save it for another use, like adding to yogurt or oatmeal.
- For a Chunky Syrup: Simply skip the straining step, allowing the tender strawberry pieces to remain in the syrup, adding a delightful texture to your waffles.
Step 4: Achieving the Perfect Syrup Consistency
To fine-tune the thickness of your syrup:
- Thicker Syrup: Continue simmering the mixture until more liquid evaporates, keeping in mind that the syrup will thicken further as it cools.
- Thinner Syrup: If the syrup becomes too thick, stir in small amounts of water until you reach the desired consistency.
Remember to stir occasionally during this process to prevent the syrup from sticking to the pan.
Step 5: Cooling and Storing Your Homemade Syrup
Once the syrup has reached your preferred consistency, remove the saucepan from heat. If using, stir in the lemon juice and any optional flavorings like vanilla extract or spices. Allow the syrup to cool slightly before transferring it to a sterilized glass jar or bottle.
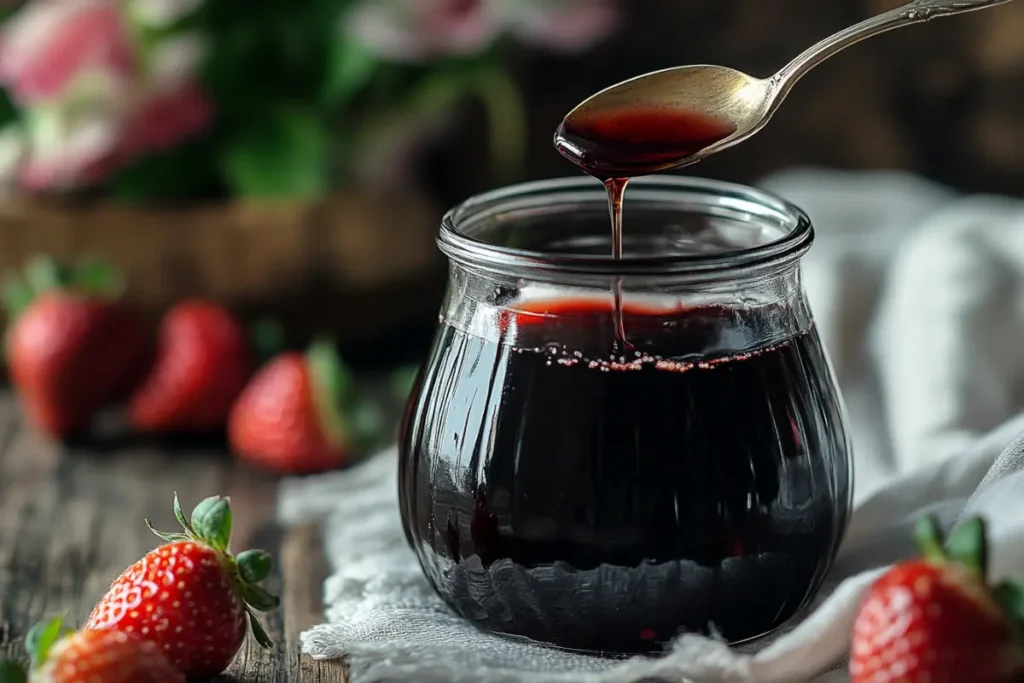
Seal the container tightly and let the syrup cool to room temperature. Once cooled, store it in the refrigerator, where it can keep for up to two weeks. Before each use, give the syrup a gentle shake or stir, as natural separation may occur.
By following these steps, you’ll have a delightful homemade strawberry syrup ready to pour over your waffles, adding a fresh and flavorful touch to your breakfast or brunch.
Flavor Variations and Customizations
How to Make a Thicker Strawberry Syrup?
If you prefer a strawberry syrup with a richer, thicker consistency for your waffles, consider these methods:
- Extended Simmering: Allow the syrup to simmer longer, enabling more water to evaporate and naturally thicken the mixture. Stir occasionally to prevent sticking.
- Cornstarch Slurry: In a separate bowl, mix 1 tablespoon of cornstarch with 2 tablespoons of cold water until smooth. Gradually whisk this slurry into the simmering syrup, stirring continuously to avoid lumps. Cook for an additional 2-3 minutes until the syrup reaches your desired thickness.
Adding Lemon Juice for Extra Tanginess
Incorporating lemon juice into your strawberry syrup not only balances the sweetness but also enhances the fruit’s natural brightness. Add 1-2 tablespoons of freshly squeezed lemon juice during the cooking process. For a more pronounced citrus flavor, consider adding a bit of finely grated lemon zest as well.
Sweeteners: Sugar, Honey, or Maple Syrup?
Customizing the sweetness of your syrup allows you to cater to different taste preferences and dietary considerations:
- Granulated Sugar: The traditional choice, offering a clean, straightforward sweetness.
- Honey: Imparts a floral note and pairs wonderfully with strawberries. Use a 1:1 ratio to replace sugar, but be aware that honey can slightly alter the syrup’s consistency.
- Maple Syrup: Adds a deep, earthy sweetness. Substitute part or all of the sugar with maple syrup, adjusting to taste. This combination creates a unique flavor profile that complements waffles beautifully.
Infusing with Vanilla, Cinnamon, or Other Spices
Elevate your strawberry syrup by infusing it with additional flavors:
- Vanilla Extract: Stir in 1 teaspoon of pure vanilla extract after removing the syrup from heat to add warmth and complexity.
- Cinnamon: Add a cinnamon stick to the mixture during simmering for a subtle spicy note. Remove the stick before straining or storing the syrup.
- Herbs: Fresh herbs like basil or mint can provide a refreshing twist. Add a few sprigs during cooking and remove them afterward.
Experimenting with these variations allows you to create a strawberry syrup that perfectly suits your palate and enhances your waffle experience.
Best Ways to Use Strawberry Syrup
Your homemade strawberry syrup is incredibly versatile and can enhance a variety of dishes beyond just waffles.
Drizzling Over Waffles, Pancakes, and French Toast
The classic application—pour warm strawberry syrup generously over a stack of fluffy waffles, pancakes, or French toast. The sweet and tangy flavors complement these breakfast staples perfectly.
Incorporating into Yogurt, Ice Cream, or Cheesecake
Add a delightful twist to your desserts and snacks:
- Yogurt: Swirl the syrup into plain or vanilla yogurt for a fruity kick.
- Ice Cream: Drizzle over vanilla or chocolate ice cream to create a simple yet satisfying dessert.
- Cheesecake: Use the syrup as a topping for classic cheesecake, adding both flavor and visual appeal.
Using as a Base for Strawberry Lemonade or Cocktails
Transform your strawberry syrup into refreshing beverages:
- Strawberry Lemonade: Mix the syrup with freshly squeezed lemon juice and cold water or sparkling water. Adjust the sweetness to taste and serve over ice.
- Cocktails: Incorporate the syrup into cocktails like a Strawberry Mojito or Strawberry Daiquiri. The natural sweetness and flavor elevate these drinks.
Pairing with Other Fruits for a Mixed Berry Syrup
Expand the flavor profile by combining strawberries with other berries:
- Blueberries: Add a handful of fresh or frozen blueberries during the cooking process for a mixed berry syrup.
- Raspberries: Incorporate raspberries to introduce a slight tartness that balances the sweetness.
This mixed berry syrup can be used in the same ways as the original strawberry syrup, offering a delightful variation.
For more delicious recipes, check out our article on The Ultimate Guide to Strawberry Waffles: Recipes, Variations, and Pro Tips.
By exploring these uses, you’ll find that your homemade strawberry syrup becomes a staple in your kitchen, enhancing a wide array of dishes and beverages.
FAQs
To ensure you get the best results when making strawberry syrup for waffles, here are answers to some of the most commonly asked questions.
1. Can I Use Frozen Strawberries Instead of Fresh Ones?
Absolutely! If fresh strawberries are out of season, frozen ones work just as well. Just ensure they are fully thawed before cooking to remove excess water. Frozen strawberries may release more liquid, so you might need to simmer a bit longer to achieve the right consistency.
2. How Do I Make a Sugar-Free Version of Strawberry Syrup?
For a healthier alternative, swap out the sugar for natural sweeteners like:
- Stevia or Monk Fruit Sweetener – Use a small amount, as they are much sweeter than sugar.
- Honey or Maple Syrup – These provide natural sweetness and enhance the syrup’s depth of flavor.
- Agave Syrup – A mild, low-glycemic alternative that blends well with strawberries.
Adjust the quantity based on your sweetness preference.
3. What’s the Best Way to Strain Strawberry Syrup for a Smooth Texture?
If you prefer a smooth, seed-free strawberry syrup, strain the cooked mixture using:
- A fine-mesh sieve – Press the berries with a spoon to extract as much syrup as possible.
- Cheesecloth – For an ultra-smooth result, pour the syrup through a cheesecloth and squeeze out the liquid.
- Blender and Strainer Combination – Blend the cooked mixture, then strain to achieve a velvety finish.
If you enjoy a chunkier texture, simply skip the straining step.
4. How Long Does Homemade Strawberry Syrup Last in the Fridge?
Stored properly in a sterilized glass jar, your homemade strawberry syrup can last:
- Up to 2 weeks in the refrigerator – Keep it sealed tightly, and stir before use.
- Up to 6 months in the freezer – Freeze in ice cube trays for easy portioning.
To extend its shelf life, consider adding a teaspoon of lemon juice, which acts as a natural preservative.
Conclusion
Now that you know how to make strawberry syrup for waffles you’ll never have to rely on store-bought versions again. This easy recipe allows you to create a fresh, preservative-free syrup that enhances any breakfast or dessert.
With endless customization options, from adding vanilla or cinnamon to making it sugar-free, you can tweak this recipe to suit your taste. Plus, strawberry syrup isn’t just for waffles—it’s perfect for pancakes, ice cream, yogurt, and even drinks!
Give this recipe a try, and let us know how it turned out. Enjoy your homemade strawberry syrup, and happy cooking!
