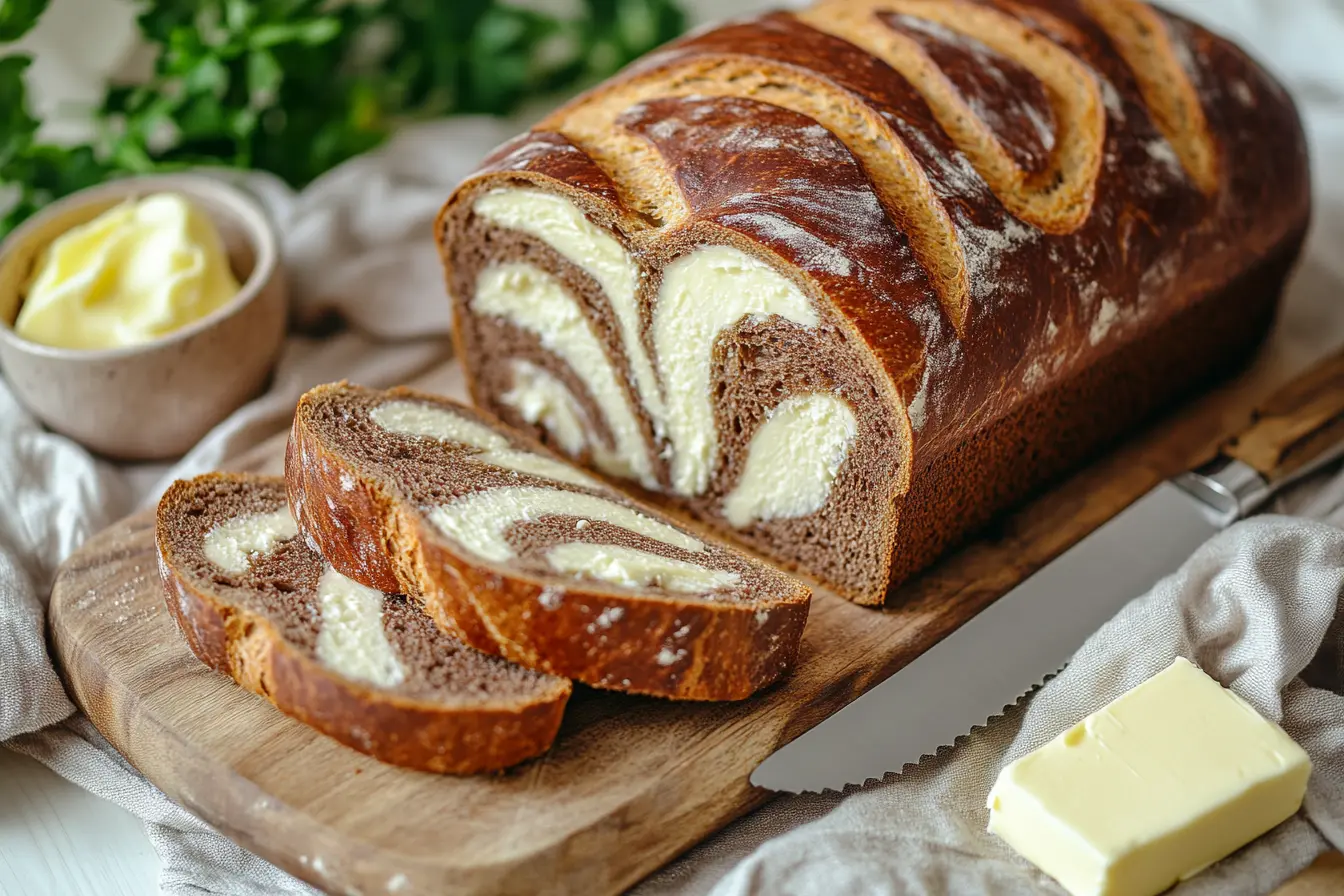
A Childhood Memory of Marble Rye Bread
When I was a little girl, my grandmother’s kitchen was my favorite place in the world. The smell of fresh-baked bread would fill the air, wrapping me in a warm, comforting embrace. I remember sitting on a wooden stool, watching my mother.
One day, she pulled out two bowls—one with a pale, soft dough and the other dark, rich with cocoa and molasses. “This,” she said with a twinkle in her eye, “is how we make marble rye bread.” I watched in fascination as she twisted the two doughs together, creating beautiful, swirling patterns. That first bite of warm, fresh-baked marble rye was magical—tangy, slightly sweet, with just the right amount of chew. It became a family tradition, a recipe passed down through generations, and now, I’m sharing it with you.
In this article, I’ll walk you through how to make your own homemade marble rye bread from scratch. Whether you’re a seasoned baker or a beginner, this guide will take you step by step—from selecting the best ingredients to mastering the marbling technique. By the end, you’ll have a delicious, bakery-worthy loaf to enjoy at home.
Introduction to Marble Rye Bread
What Is Marble Rye Bread?
Marble rye bread is a beautiful and flavorful bread that combines two types of dough—one light and one dark—twisted together to create its signature swirled appearance. It’s slightly chewy, with a mild tang from the rye flour and a hint of sweetness. The dark dough often includes molasses or cocoa powder for deeper color and a richer taste.
A Brief History of Marble Rye Bread
Rye bread has been a staple in European cuisine for centuries, particularly in Jewish and Eastern European traditions. When immigrants brought their baking skills to America, they combined lighter and darker rye doughs, creating the marble rye bread we know today. It quickly became a deli favorite, especially when used for sandwiches like the classic Reuben.
Why You Should Make It at Home
While you can find marble rye bread in many bakeries, making it at home allows you to control the ingredients and flavors. Many store-bought versions contain preservatives, but homemade bread is fresh, wholesome, and deeply satisfying to bake. Plus, nothing beats the aroma of fresh bread filling your kitchen!
Ingredients and Tools Needed
Making homemade marble rye bread is easier than you think, but choosing the right ingredients and tools is crucial. Here’s everything you’ll need before getting started.
Essential Ingredients for Marble Rye Bread
To make this delicious bread, you’ll need:
- Bread Flour – Provides structure and chewiness.
- Rye Flour – Gives the bread its signature tangy flavor.
- Yeast – Active dry or instant yeast works best for a good rise.
- Warm Water – Helps activate the yeast.
- Salt – Enhances flavor and controls fermentation.
- Sugar or Honey – Slightly sweetens the dough.
- Caraway Seeds (Optional) – Adds an earthy, slightly peppery taste.
- Molasses or Cocoa Powder – Used in the dark rye dough for color and deeper flavor.
- Vegetable Oil or Butter – Keeps the dough soft.
Choosing the Right Flour for the Perfect Texture
Not all flours are created equal! Rye flour has less gluten than wheat flour, which is why a mix of rye and bread flour is ideal for achieving a soft yet sturdy texture. Using 100% rye flour will result in a denser loaf, so balancing the two ensures the best consistency.
Additional Ingredients for Extra Flavor
For a more aromatic loaf, you can:
- Add a touch of vinegar to enhance the tanginess.
- Mix in milk or buttermilk for a slightly softer crumb.
- Use sourdough starter instead of yeast for a more complex flavor.
Kitchen Tools You’ll Need
- Mixing Bowls – To prepare both light and dark doughs.
- Stand Mixer (Optional) – Makes kneading easier.
- Rolling Pin – Helps flatten and layer the doughs.
- Dough Scraper – Useful for handling sticky rye dough.
- Proofing Basket or Bowl – For dough rising.
- Baking Sheet or Loaf Pan – Depending on your preferred bread shape.
- Sharp Knife or Lame – For scoring the dough before baking.
Having everything ready will make your marble rye bread baking experience smooth and enjoyable!
Understanding the Dough: Light vs. Dark Rye
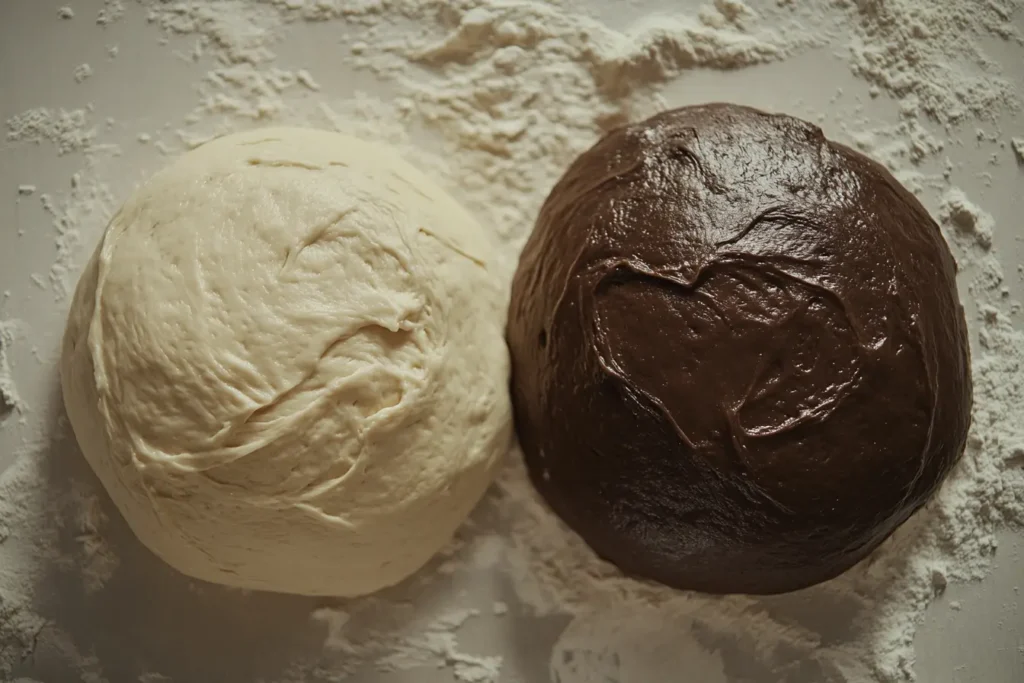
To achieve the stunning marbled effect, you’ll need to prepare two types of dough: light rye and dark rye.
The Role of Rye Flour in Bread Baking
Rye flour contains less gluten than wheat flour, making it more challenging to work with. This is why combining it with bread flour creates a more structured yet slightly chewy loaf. Rye also absorbs more moisture, so it’s essential to adjust hydration based on your environment.
How to Make Light Rye Dough
The light rye dough is the base of the bread. Here’s how to prepare it:
- In a mixing bowl, combine bread flour, rye flour, salt, yeast, and sugar.
- Add warm water and oil, then mix until combined.
- Knead for about 8–10 minutes until the dough is smooth and elastic.
- Place the dough in a greased bowl, cover, and let it rise until doubled.
How to Make Dark Rye Dough
The dark rye dough follows the same process but includes molasses or cocoa powder for the rich color. Here’s what to do:
- Mix rye flour, bread flour, yeast, salt, and sugar in a bowl.
- Add molasses or cocoa powder for color and depth of flavor.
- Pour in warm water and oil, then knead until smooth.
- Cover and let it rise until doubled in size.
Now that you have both doughs ready, it’s time to move on to the marbling technique!
Step-by-Step Recipe for Homemade Marble Rye Bread
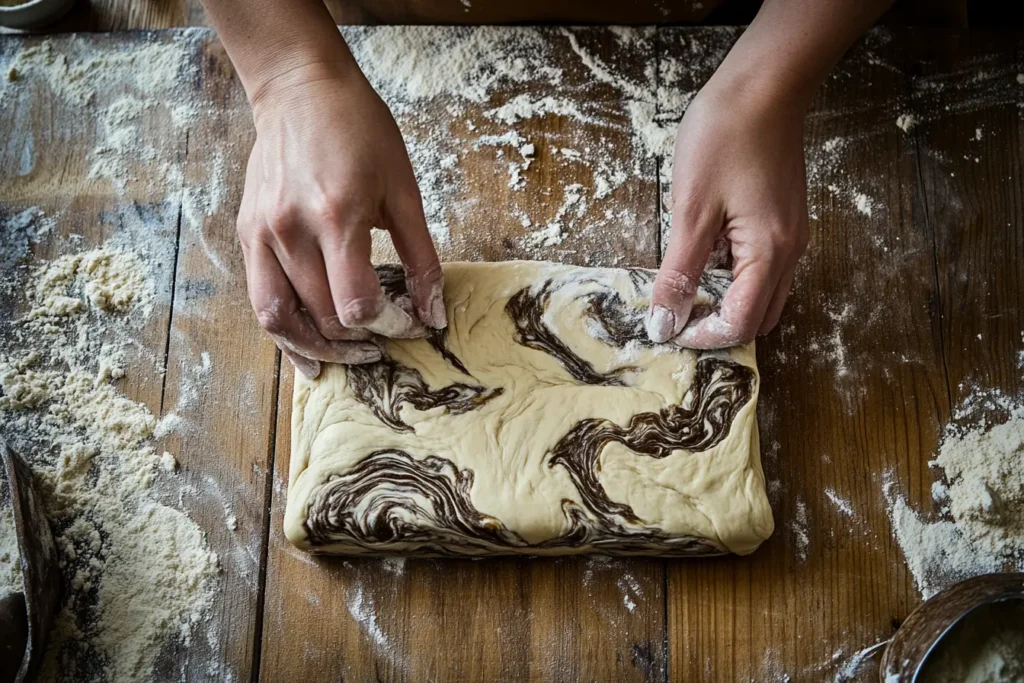
Now that we’ve covered the ingredients and dough preparation, let’s walk through the full recipe. This step-by-step guide will ensure your homemade marble rye bread turns out perfect every time!
Preparing the Doughs Separately
- Mixing the Light Rye Dough
- In a large bowl, whisk together 2 cups bread flour, 1 cup rye flour, 1 teaspoon salt, 1 tablespoon sugar, and 2 teaspoons yeast.
- Pour in ¾ cup warm water and 2 tablespoons oil and mix until a dough forms.
- Knead for about 8–10 minutes until smooth and elastic.
- Mixing the Dark Rye Dough
- Follow the same process, but add 2 tablespoons molasses or 1 tablespoon cocoa powder for a rich, deep color.
- Knead until smooth and set aside to rise.
- First Rise
- Place each dough in a lightly oiled bowl. Cover with a clean towel and let rise for 60–90 minutes or until doubled in size.
Combining the Doughs for the Signature Marble Effect
- Once both doughs have risen, punch them down and roll each into a rectangular shape on a floured surface.
- Place the dark rye dough over the light rye dough, then gently roll them together into a log shape.
- For a more dramatic swirl, twist the rolled dough a couple of times before shaping it into a loaf.
Shaping the Loaf: Techniques for a Beautiful Swirl
- If making a free-form loaf, gently shape it into an oval and place it on a baking sheet.
- For a loaf pan, lightly grease the pan and set the shaped dough inside.
Proofing the Dough for the Perfect Rise
- Cover the shaped dough with a towel and let it proof for 30–45 minutes until slightly puffy.
- Preheat your oven to 375°F (190°C) while the dough rises.
Baking Tips: Temperature, Timing, and Tricks for a Crispy Crust
- Before baking, brush the loaf with an egg wash for a golden crust.
- Score the top with a sharp knife to allow expansion.
- Bake for 30–35 minutes until golden brown. The loaf should sound hollow when tapped on the bottom.
- Let cool on a wire rack before slicing.
Cooling and Slicing the Bread
- Resist the temptation to slice it immediately! Allow the bread to cool for at least 30 minutes to set properly.
- Use a sharp serrated knife for even slices.
Now, your homemade marble rye bread is ready to enjoy!
Tips for Perfecting Your Marble Rye Bread
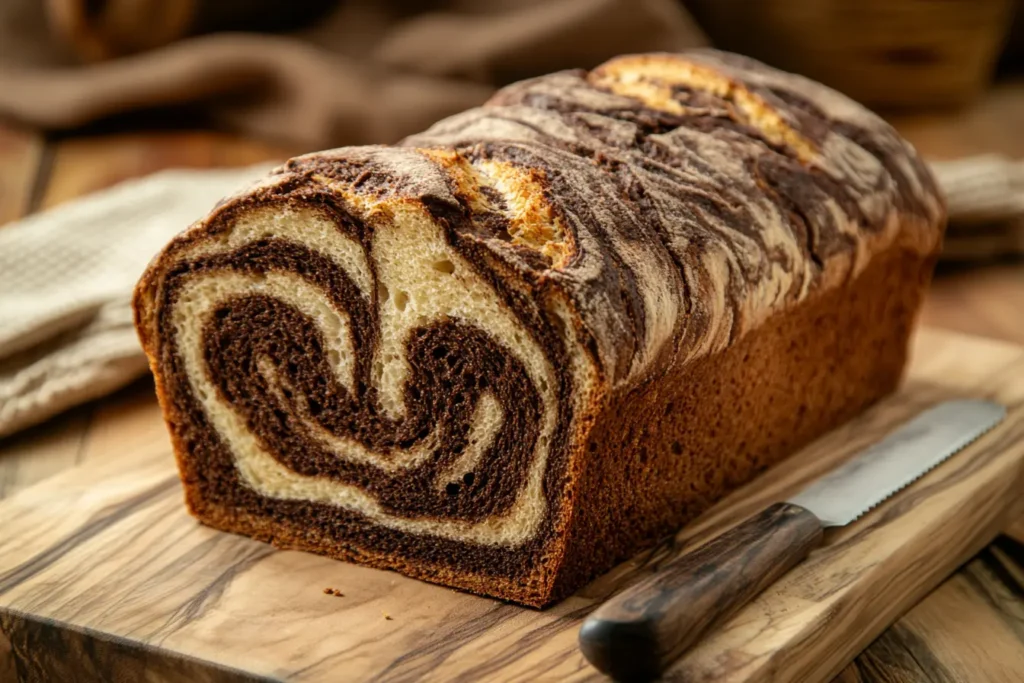
Baking marble rye bread at home is rewarding, but small tweaks can take your loaf from good to bakery-quality!
Common Mistakes and How to Avoid Them
- Dense Bread?
- Dry Texture?
- Rye flour absorbs more moisture than wheat flour, so adjust hydration based on humidity. If needed, add an extra tablespoon of water.
- Weak Marbling Effect?
- When rolling the doughs together, twist them a little more for pronounced swirls.
Adjusting Hydration for Different Humidity Levels
- In humid climates, use slightly less water to prevent a sticky dough.
- In dry climates, add 1–2 tablespoons extra water for a softer texture.
How to Get a More Pronounced Marble Effect
- Roll out the dark and light doughs as evenly as possible before layering.
- Try a braided technique: slice the dough log in half lengthwise, then twist the two halves together before shaping into a loaf.
With these tips, you’ll master the art of making marble rye bread every time!
FAQs – People Also Ask
Many home bakers have questions about making marble rye bread. Here are some common ones, along with helpful answers to guide you.
1. What makes marble rye different from regular rye bread?
Marble rye bread stands out because it combines light and dark rye doughs, creating a beautiful swirl pattern. Traditional rye bread, on the other hand, is usually made from a single type of rye flour and has a uniform color. The marbling doesn’t just add to its appearance—it also enhances the flavor by balancing the earthy tang of rye with a hint of sweetness from molasses or cocoa powder.
2. Can I make marble rye bread without caraway seeds?
Absolutely! Caraway seeds add a slightly peppery, anise-like flavor, but they are optional. If you prefer a milder taste, simply leave them out. Some bakers like to substitute caraway with fennel seeds for a similar aroma.
3. Why does my marble rye bread turn out dense?
A dense loaf usually means the dough didn’t rise properly. Make sure you’re using fresh yeast, allowing enough time for proofing, and kneading the dough well to develop gluten. Also, avoid adding too much rye flour, as it has lower gluten content than wheat flour.
4. Can I make this bread using only whole wheat or rye flour?
While possible, using 100% rye or whole wheat flour will create a much denser bread with a different texture. To keep it soft and chewy, mix rye flour with bread flour for the best results.
Conclusion
Making homemade marble rye bread is a rewarding experience that combines both skill and creativity. By following this step-by-step guide, you can bake a loaf that looks stunning, tastes incredible, and is far fresher than anything store-bought. Whether you use it for sandwiches, toast, or simply enjoy it with butter, this bread is sure to become a favorite in your kitchen.
Now that you have all the tips and techniques, it’s time to get baking! Try this recipe, experiment with flavors, and most importantly—enjoy every bite of your freshly baked marble rye bread!
